It’s vitally important to check your knitting tension or gauge before knitting up a project. Otherwise, your finished garment could be either too small or too big. There is nothing more heartbreaking than spending hours and hours knitting a pullover only to find it is several sizes too big once finished and has to be completely ripped back. That’s very disheartening, and you can avoid that by measuring your knitting tension before you start. In this article, you will learn everything you need to know about checking your knitting tension or gauge.
How to read the tension of a knitting pattern
The tension or gauge in patterns is normally given in terms of stitches and rows to four inches (or 10 cm). Here is an example from our ribbed hat pattern:
24sts and 26 rows to 4″ over K2, P2 rib slightly stretched.
This pattern requires 24 stitches and 26 rows on a square with 4 inches (10 cm) side length. So you would first knit your tension square with the same knitting needles and yarn you intend to use for the piece you want to knit. Once you’re done, count all stitches and rows. If the number is correct, you are ready to start knitting your pattern. If either number is too high (too many stitches or rows), you are knitting too tight. This would mean that your final piece will turn out smaller than indicated. If you have fewer stitches than indicated, your tension is too low and the piece will turn out larger than intended. You can correct that by changing your knitting needles (larger, if you knit too tight or smaller if you knit too loose).
Knitting a tension square
Being lazy and not liking to do tension squares I tend to knit them small enough to just measure 2 inches (5 cm) in both directions. If you are just getting started, I recommend that you knit the full 4 inches (10 cm) or even more, if you’ve had problems with wrong sizes before.
Regardless of the size, the tension square always needs to be a few stitches and a few rows more than the area you are going to measure. So if the tension is quoted as 24 stitches and 26 rows to 4 inches you will need to work over at least 36 stitches to measure a 24 stitch, 4 inch section in the middle. In the same way you would need to work at least 40 rows to be able to measure accurately a 4-inch section in the middle.
You can use any cast on method to start your tension square then knit in stockinette or stocking stitch for the required number of rows.
How to count the stitches and rows of your tension square
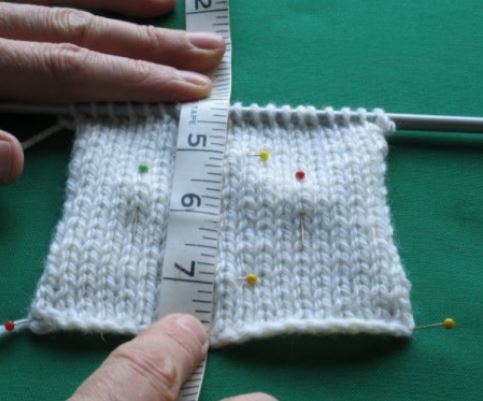
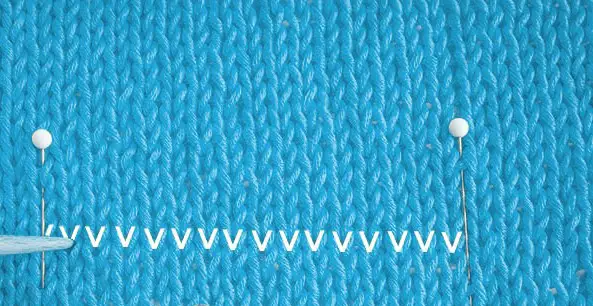
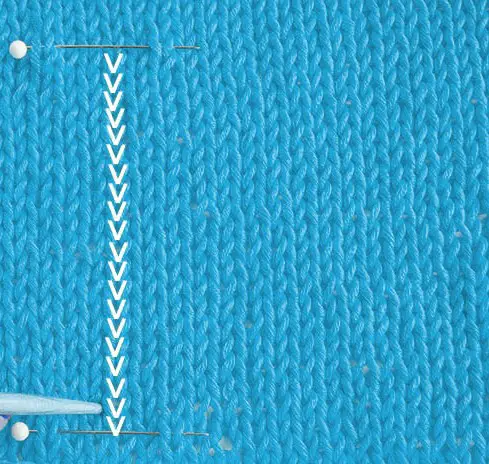
Lay the tension square out on your ironing board and pin it flat without stretching it. Mark the start and end of a 4 inch (2 inches in the images) distance across the middle and up and down the tension square so that you have marked the extremities of the area you need to count.

Now count the number of stitches across and the number of rows up between your marker pins and compare that number with the tension stated in the pattern.


Tip: Never stretch your knitting when measuring.
Remember, if you are measuring over 2 inches and the tension is quoted over 4 inches you will need to double the number you have counted. And you may count a half stitch, which doubles up to a whole stitch. If the number of stitches in your tension square is more than the number quoted in the pattern you could try using a size larger needle.
Reknit the tension square with the larger needles and check again. If the number of stitches in your tension square is less that the number quoted in the pattern you should try using smaller needles. Again, you will need to reknit the tension swatch and recheck the numbers. You can find a knitting conversion table matching knitting needle sizes to yarn types here.
